中国最大的web开发资源网站及技术社区,
前些日子做一个web项目,必须自己编写一个activex控件。如今的activex控件大多是使用vb/c++来开发的,而我对他们并不熟悉,因此考虑使用熟悉的c#编写activex控件。
首先,建立一个winform控件项目helloworld,并拖入一个label控件,文字设为helloworld,如图:
usercontrol1.cs内容如下:
using system;
using system.collections;
using system.componentmodel;
using system.drawing;
using system.data;
using system.windows.forms;
namespace helloworld
{
/**//// <summary>
/// usercontrol1 的摘要说明。
/// </summary>
public class demo : system.windows.forms.usercontrol
{
private system.windows.forms.label label1;
/**//// <summary>
/// 必需的设计器变量。
/// </summary>
private system.componentmodel.container components = null;
public demo()
{
// 该调用是 windows.forms 窗体设计器所必需的。
initializecomponent();
// todo: 在 initcomponent 调用后添加任何初始化
}
/**//// <summary>
/// 清理所有正在使用的资源。
/// </summary>
protected override void dispose( bool disposing )
{
if( disposing )
{
if( components != null )
components.dispose();
}
base.dispose( disposing );
}
组件设计器生成的代码#region 组件设计器生成的代码
/**//// <summary>
/// 设计器支持所需的方法 - 不要使用代码编辑器
/// 修改此方法的内容。
/// </summary>
private void initializecomponent()
{
this.label1 = new system.windows.forms.label();
this.suspendlayout();
//
// label1
//
this.label1.location = new system.drawing.point(32, 32);
this.label1.name = "label1";
this.label1.size = new system.drawing.size(120, 32);
this.label1.tabindex = 0;
this.label1.text = "helloworld";
this.label1.textalign = system.drawing.contentalignment.middlecenter;
//
// demo
//
this.controls.add(this.label1);
this.name = "demo";
this.size = new system.drawing.size(184, 96);
this.resumelayout(false);
}
#endregion
}
}
此时编译项目,可以生成helloworld.dll。将此dll拷贝到iis的虚拟根目录下,然后建立一个helloworld.htm的文件,html代码如下:
<body bgcolor=’#223344’>
<object id="helloworld" classid=’http://localhost/helloworld.dll#helloworld.demo’ width="184" height="96" viewastext> </object>
</body>
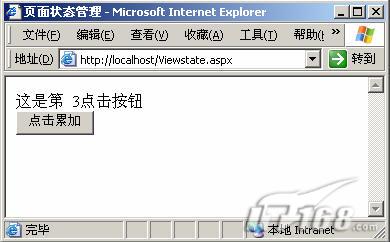
在ie地址栏中输入以下地址:http://localhost/helloworld.htm,出现界面:
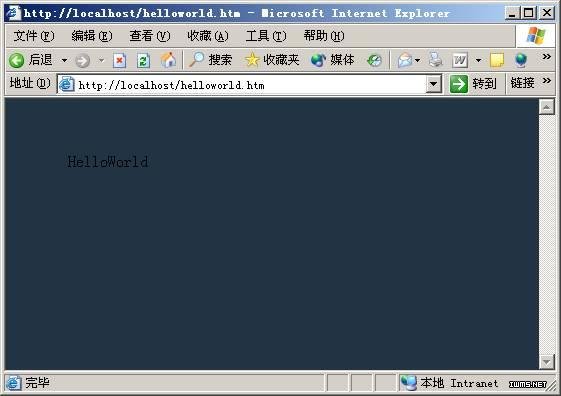
如图,控件已经成功在页面上显示了。ok,我们已经完成了第一步。
但是问题到这里还没有解决。不相信?你可以试试在另外一台机器上测试,注意需要修改对应的html代码和url地址。你可以看到这个在原来显示控件的地方是一个红色的叉,或者还会弹出一个对话框,表示这个控件没有任何权限。出现这个结果是微软的默认设置造成的,作者必须在控件所在的控件的 assemblyinfo.cs/vb 中执行一个安全声明,声明这个控件必须使用赋予的权限,才可以显示出界面。我们在assemblyinfo.cs中引用system.security命名空间,并添加一句:
[assembly : allowpartiallytrustedcallers()]
现在重新编译,并且替换以前的dll,界面又可以显示出来了。
需要提醒的是,到现在为止,我们编写的还不是真正的activex控件。这个控件到现在为止,还只是能够实现自身的显示,并且不能实现更多的功能,比如实现与脚本的交互或者操作客户端的注册表或者磁盘。这是由于.net framework的安全模型所限制的。如果我们希望这个控件突破.net framework安全模型的限制,实现与脚本的交互或者操作客户端的注册表或者磁盘的话,必须要让它成为真正的activex控件。下面,我们把刚才的控件变成真正的activex控件。
首先使用 工具—〉创建guid 生成一个guid,并修改usercontrol1.cs文件。首先增加引用system.runtime.interopservices命名空间,并在demo前面加入一条语句:
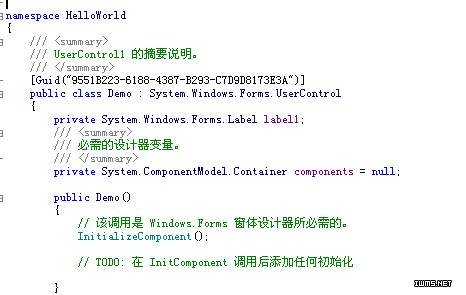
注意guid中的字符串,就是你生成的guid字符串。它是你所生成的activex控件的唯一标识符。然后修改项目属性,如图:
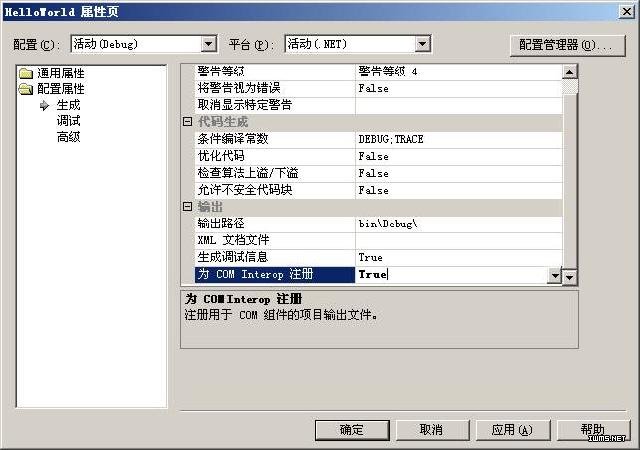
注意面板中的最后一项,我们唯一需要修改的是将其值改为true。
重新编译。我们使用 工具—〉ole/com对象查看器 查看,如图:
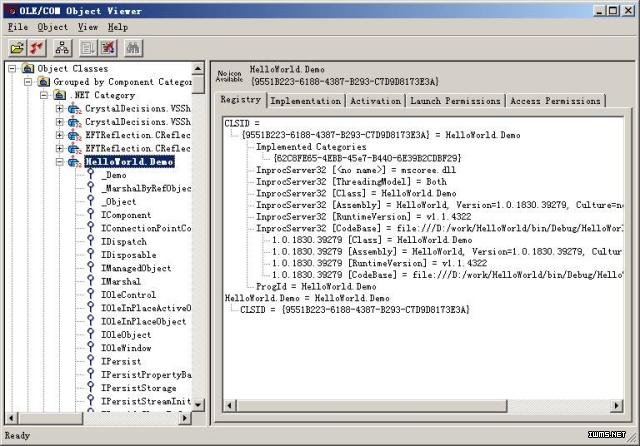
可以看到,我们写的helloworld.demo已经被正确识别为com组件。现在,我们已经可以像使用其它activex控件一样在网页中显示了。在helloworld.demo点击鼠标右键,如图:
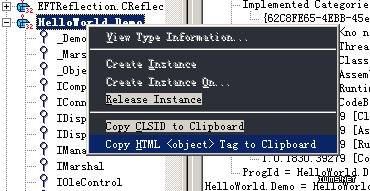
选择copy html <object> tag to clipboard,可以将代码拷入剪贴板。
现在,我们改写helloworld.htm,html代码如下:
<body bgcolor=’#223344’>
<object id="helloworld"
classid="clsid:9551b223-6188-4387-b293-c7d9d8173e3a" width="184" height="96">
</object>
</body>
使用ie查看,我们的控件又可以在网页中显示了。不过,这个时候它已经不再是以前的.net winform控件了,而是货真价实的activex控件了。
不过,编写activex控件的任务还没有完成。我们还没有实现脚本互动或者读写i/o,也没有实现activex控件的自动分发。在下一篇blog中,我会完成activex控件的编写。