,把压缩包中的文件夹上传到根目录
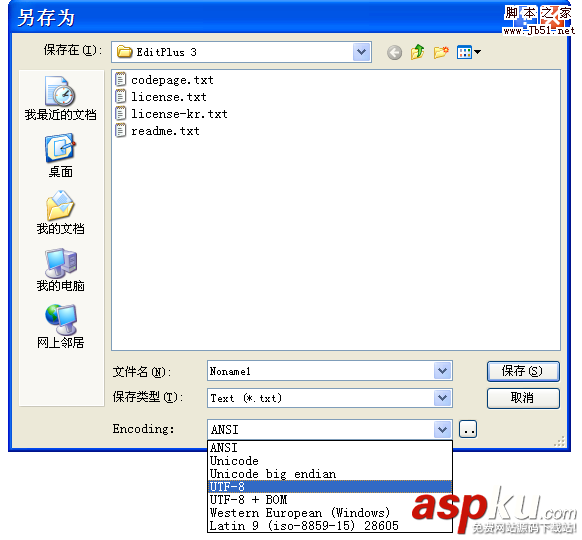
2,打开模板目录下的style.css,在最下面的"}"后回车,把下面的代码复制进去。
#topbar{
position:absolute;
padding: 2px;
width: 100px;
visibility: hidden;
z-index: 100;
top:600px;
font-size: 12px;
}
#topbar A.qqa:link {COLOR: red; text-decoration: none}
#topbar A.qqa:visited {COLOR: red; text-decoration: none}
#topbar A.qqa:active {COLOR: red; text-decoration: none}
#topbar A.qqa:hover {COLOR: blue; text-decoration: none}
#topbar A.qqb:link {COLOR: black; text-decoration: none}
#topbar A.qqb:visited {COLOR: black; text-decoration: none}
#topbar A.qqb:active {COLOR: black; text-decoration: none}
#topbar A.qqb:hover {COLOR: blue; text-decoration: none}
#topbar table,#topbar tr,#topbar td{
margin: 0px;
padding: 0px;
};
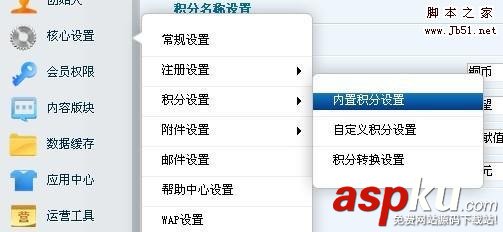
3,打开/themes/模板名称/library的page_footer.lbi找到
{if $stats_code}
<div align="center">{$stats_code}</div>
{/if}
<script type="text/javascript">
var process_request = "{$lang.process_request}";
</script>
在这段代码的前面粘贴下面的代码
注意粘贴前修改“模板名称”。最最最重要的要把下面代码中的10000,10001,10002,10003换成你的QQ号码。
<!-- 浮动QQ脚步 开始-->
<script type="text/javascript" src="img/qq.js"></script>
<div id="topbar">
<table border="0" width="110" cellspacing="0" cellpadding="0">
<tr>
<td width="110"><img border=0 src="img/kefu_up.gif" cellpadding="0" cellspacing="0">
 | d8378f387002c1859a32a0aaf7eedc46.rar (88.88 KB) |
12套QQ皮肤
将第一步中css代码替换为
#topbar{
filter: Alpha(Opacity=50, FinishOpacity=100, Style=0, StartX=0, StartY=0, FinishX=0, FinishY=0);
position:absolute;
padding: 2px;
width: 100px;
visibility: visible;
z-index: 100;
top:600px;
font-size:12px;
}
#topbar A.qqa:link {COLOR: red; text-decoration: none}
#topbar A.qqa:visited {COLOR: red; text-decoration: none}
#topbar A.qqa:active {COLOR: red; text-decoration: none}
#topbar A.qqa:hover {COLOR: blue; text-decoration: none}
#topbar A.qqb:link {COLOR: black; text-decoration: none}
#topbar A.qqb:visited {COLOR: black; text-decoration: none}
#topbar A.qqb:active {COLOR: black; text-decoration: none}
#topbar A.qqb:hover {COLOR: blue; text-decoration: none}
#topbar td{
padding:0;
margin:0;
}
可为半透明
半透明装态我用CSS样式代码实现了,看来我还得多多学习才能更好的运用,修改方法在IMAGES下面的QQ.css代码里:
参数 filter: Alpha(Opacity=50, FinishOpacity=100, Style=0, StartX=0, StartY=0, FinishX=0, FinishY=0);
说明
opacity
透明度。默 认的范围是从0 到 100,他们其实是百分比的形式。也就是说 ,0代表完全透明,100代表完全不透明。
fi nishopacity
是一个可选参数,如果想要设置渐 变的透明效果,就可以使用他们来指定结束时的透明度。范围也是0 到 100。
style
指定透明区域 的形状特征:0 代表统一形状1 代表线形2 代表放射状3 代 表矩形
startx
渐变透明效果开始处 的 X坐标。
starty
渐变透明效果 开始处的 Y坐标。
finishx
渐变 透明效果结束处的 X坐标。
关于浮动框所在位置修改方法:
需修改images下的QQ.JS文件,查找
var persistclose=0 //set to 0 or 1. 1 means once the bar is manually closed, it will remain closed for browser session
var startX = screen.width-150 //screen.width-150此值为在浮动框在网站右边,如想改为在左边设定此值为"3"!
var startY = 200 //距离网页窗口底部的距离
var verticalpos="fromtop" //enter "fromtop" or "frombottom"
var online= new Array();