首页| 新闻| 科技| 人物| 科学| 话题| 运营| 设计| 开发| 服务器| 学院| 产品| 网文| 娱乐| 游戏| 图片
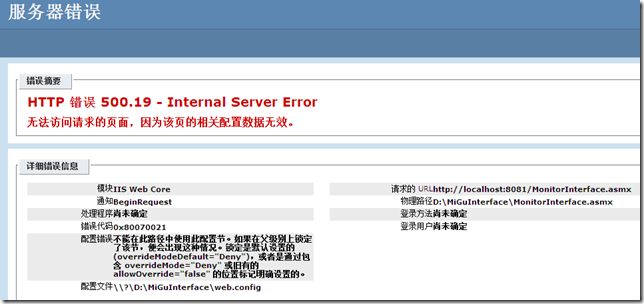
HTTP 错误 500.19- Internal S
从ISO文件安装应用程序的方法
HTTP 错误 500.19- Internal Server Erro
校园甜美的背影,洋溢着青春烂漫的回忆
南国有佳人,容华若桃李
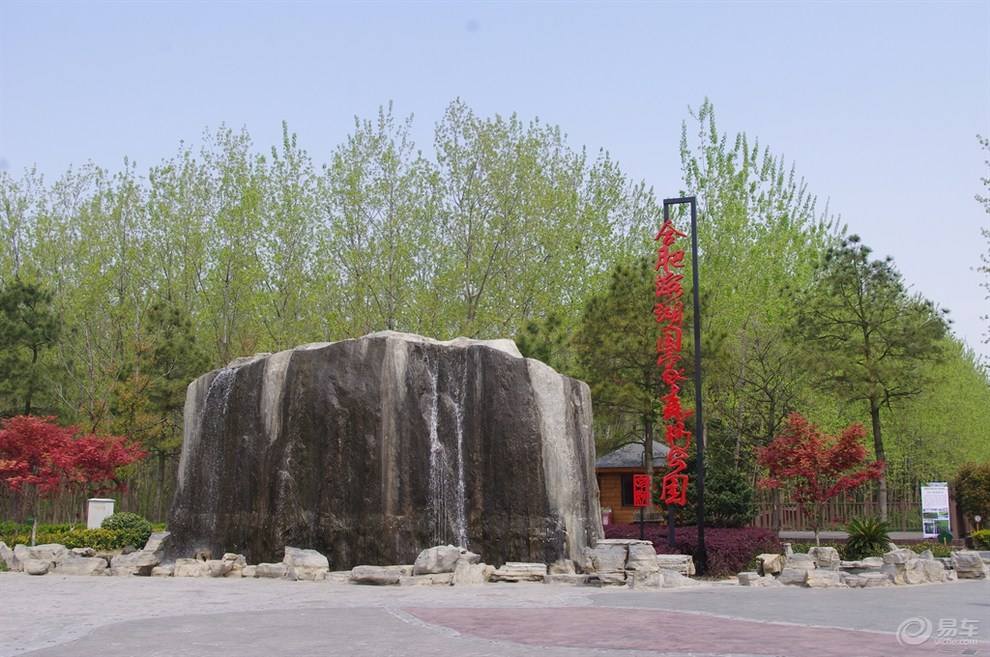
游览合肥滨湖湿地公园 美不胜收的湿地景
夏日图赏:初夏若雨等花开
路边摊小吃 酒香不怕巷子深
特色路边摊小吃 下班路上的一道美食
爷爷都是从孙子走过来的
我太帅了,睡不着咋整啊
新闻热点
疑难解答
图片精选
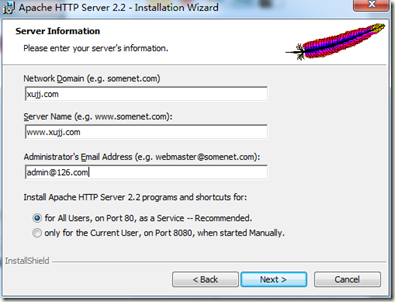
windows下apache+php+mysql 环境配
Apache Wind2003 配置网站目录权限
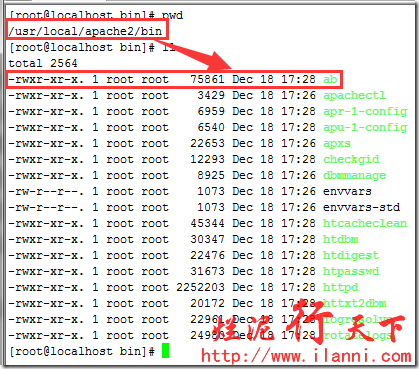
apache性能测试工具ab使用详解
apache 默认目录的修改方法 .
网友关注