本文主要介绍weblogic jms的配置,包括JMS 服务器和JMS 模块(连接工厂、队列、远程 SAF 上下文、SAF 导入目的地、SAF 错误处理)的配置;并在Spring环境下进行消息的监听及发送;为了更多的使用webloigc jms的功能,发送的队列使用saf配置的远程weblogic jms队列(两边的weblogic版本须一致),当然本地也是可以的。本文中demo所使用的软件环境为:weblogic 10.3.6.0、spring5.1.2.RELEASE
注:saf配置的远程队列只能发送消息,不能监听消息。
1、weblogic jms配置
1.1、配置JMS 服务器
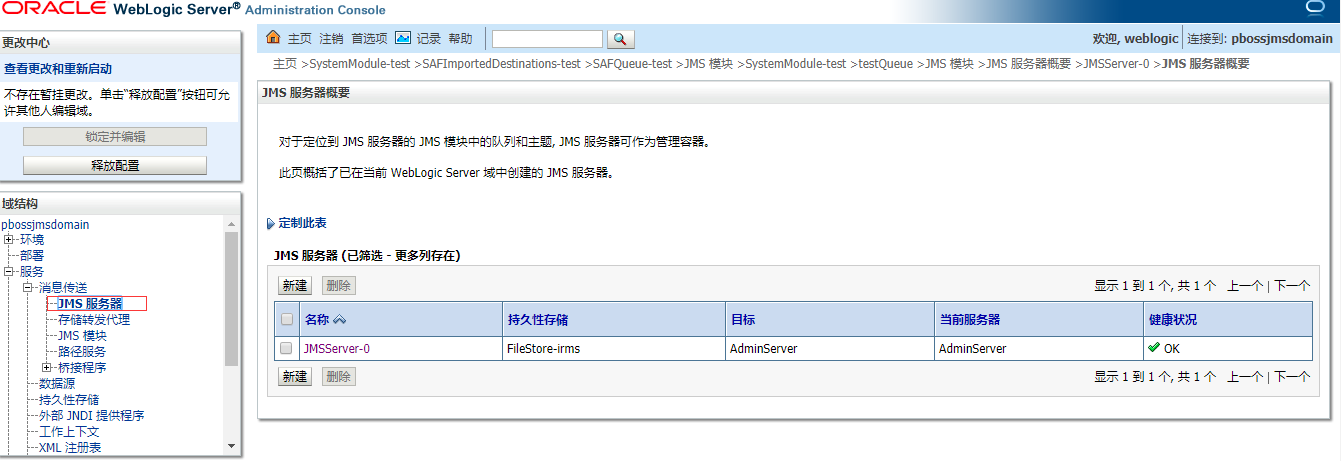
注:需配置持久性存储,没有就创建一个
1.2、配置JMS 模块
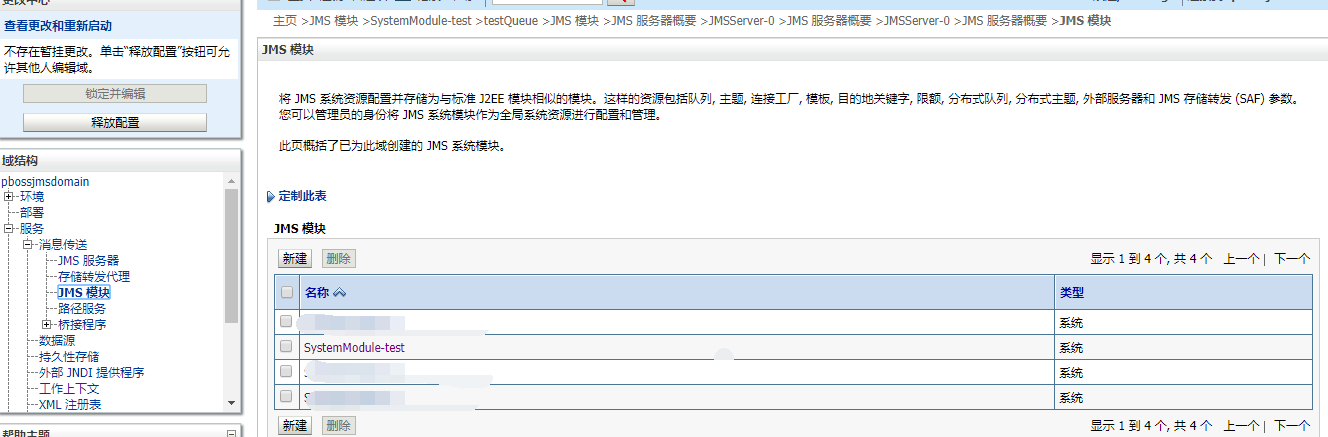
下面的功能都是在JMS 模块中配置;连接工厂、队列、远程 SAF 上下文、SAF 导入目的地、SAF 错误处理
这里就不一一截图配置过程了,按页面提示配置就行;配置结果如下
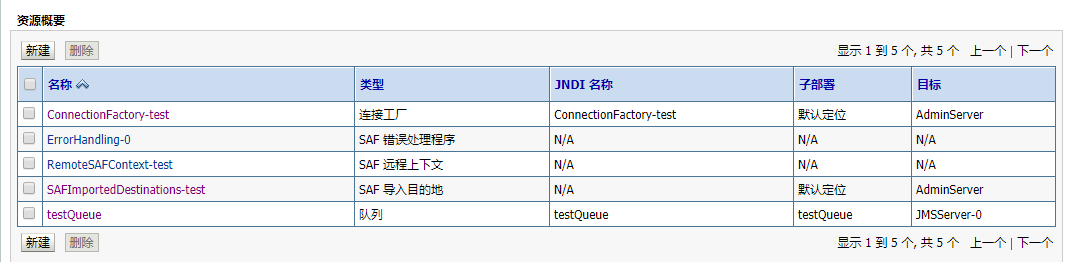
连接工厂需设置jndi,程序里会用到
SAF 远程上下文配置的远程地址及用户名密码信息
SAF 导入目的地配置的远程的队列消息及对应到本地的jndi
SAF 错误处理程序配置错误处理策略属性,选配
队列需设置jndi,程序里会用到
SAF 导入目的地配置的队列消息如下:
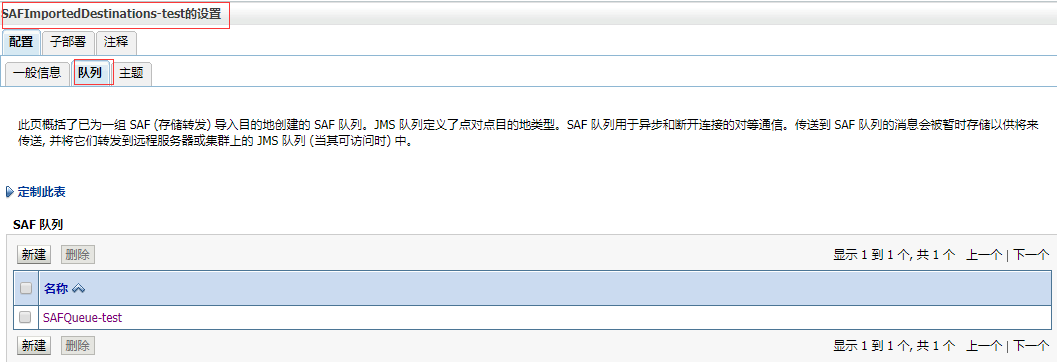
点击队列名称:
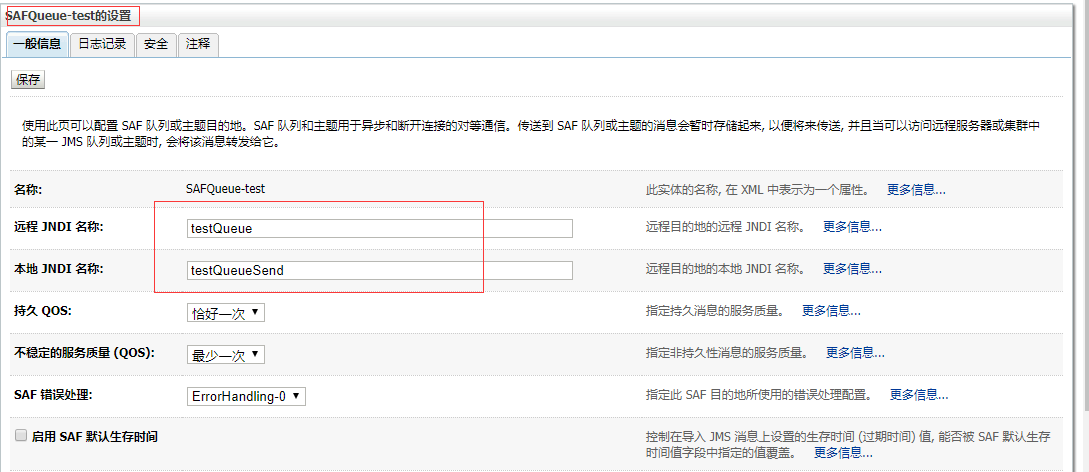
本地 JNDI 名称程序里会用到,向该jndi发送消息实际会发送到远程的队列里。
2、spring配置
增加applicationContext-jms.xml文件:
<?xml version="1.0" encoding="UTF-8"?><beans xmlns="http://www.springframework.org/schema/beans" xmlns:xsi="http://www.w3.org/2001/XMLSchema-instance" xmlns:context="http://www.springframework.org/schema/context" xmlns:aop="http://www.springframework.org/schema/aop" xmlns:tx="http://www.springframework.org/schema/tx" xmlns:security="http://www.springframework.org/schema/security" xmlns:task="http://www.springframework.org/schema/task" xsi:schemaLocation="http://www.springframework.org/schema/beans http://www.springframework.org/schema/beans/spring-beans-4.3.xsd http://www.springframework.org/schema/aop http://www.springframework.org/schema/aop/spring-aop-4.3.xsd http://www.springframework.org/schema/tx http://www.springframework.org/schema/tx/spring-tx-4.3.xsd http://www.springframework.org/schema/context http://www.springframework.org/schema/context/spring-context-4.3.xsd http://www.springframework.org/schema/security http://www.springframework.org/schema/security/spring-security-4.3.xsd http://www.springframework.org/schema/task http://www.springframework.org/schema/task/spring-task-4.3.xsd"> <bean class="org.springframework.jndi.JndiTemplate"> <property name="environment"> <props> <prop key="java.naming.factory.initial">weblogic.jndi.WLInitialContextFactory</prop> <prop key="java.naming.provider.url">t3://10.39.196.10:7001</prop> <prop key="java.naming.security.principal">weblogic</prop> <prop key="java.naming.security.credentials">weblogic1</prop> </props> </property> </bean> <bean class="org.springframework.jndi.JndiObjectFactoryBean"> <property name="jndiTemplate" ref="jndiTemplate" /> <property name="proxyInterface" value="javax.jms.ConnectionFactory" /> <property name="jndiName" value="ConnectionFactory-test" /> </bean> <bean class="org.springframework.jndi.JndiObjectFactoryBean"> <property name="jndiName" value="testQueueSend" /> <property name="jndiTemplate" ref="jndiTemplate" /> </bean> <bean class="org.springframework.jndi.JndiObjectFactoryBean"> <property name="jndiName" value="testQueue" /> <property name="jndiTemplate" ref="jndiTemplate" /> </bean> <bean class="org.springframework.jms.core.JmsTemplate"> <property name="connectionFactory" ref="jmsConnectionFactory" /> </bean> <bean class="com.inspur.demo.jms.Sender"> </bean> <task:scheduled-tasks> <task:scheduled ref="sender" method="hello" cron="0/5 * * * * ?" /> </task:scheduled-tasks> <bean class="com.inspur.demo.jms.Receiver"> </bean> <bean class="org.springframework.jms.listener.DefaultMessageListenerContainer"> <property name="connectionFactory" ref="jmsConnectionFactory" /> <property name="destination" ref="testQueueReceive" /> <property name="messageListener" ref="receiver" /> <property name="autoStartup" value="true" /> </bean></beans>
新闻热点


疑难解答