1.emiter 的制作
来吧!嘻嘻,只要几分钟时间喽?
选择 create/nurbs primitives/plane, 见下图,设置 u patches 和 v patches 都为 4, 其它的参数不变。
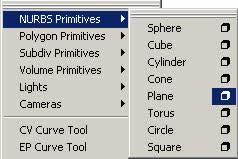
结果如下图所示

现在为这个 plane 加上粒子喽,先按 f4 ,在选择 particles/add emitter, 如下图所示

好了,现在利用 window/outliner 打开,选择 emitter1 的属性 ( 快捷方式是选择物体,按 crtl+a) ,把其 rate(particles/sec) 设置为 100 左右 , 如下图所示

2.particle attributes. 设置
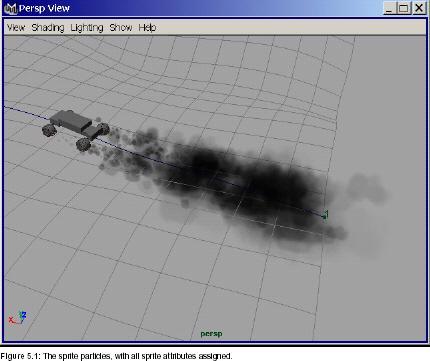
在 outlinear 中选择 particles ,打开属性,在 render attributes type 中选择 could(s/w), 在 add dymamic attributes 点击 lifespan ,上面的设置 render attributes 中,设置 lifespan 为 4 。如下图所示 :

需要注意的是,在点击 lifespan 时,要选择 add per object attribute ,如下图所示

3.turbulence
选择 particles 物体,选择菜单 fields/ turbulence, 打开属性编辑器,设置 magnitude 为 10

4. particle material.cloud.(multilister)
打开 window/rendering editors/multilister. 选择 edit->create, 在 volumetric materials 中选择 particle cloud. 如下图所示

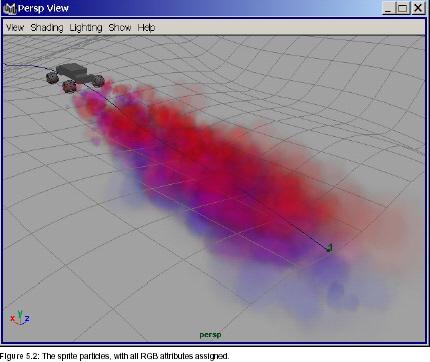
5. particle material. color. cloud.
打开 particle cloud 的属性对话框,点击 color 右边的  , 选择材质为 3dtextures cloud.
点击 transparency 右边的  , 造择材质为 2dtextures, ramp.
点击 blob map 右边的  , 选择材质为 3dtextures crater.

新闻热点


疑难解答